5 Steps to an Authentic French Omelet
Posted by Julie on Apr 25th 2019
Living in Colorado, we’re accustomed to hearing about Denver omelets. While they’re certainly a hearty weekend breakfast, American omelets are a far cry from an authentic French omelet. They’re also easier to make and more forgiving of mistakes. But French omelets are also fairly straightforward, once you’ve gotten the feel for them. As Bon Appetit notes, “You’re not going to get this right the first time.” But after you buy a dozen eggs and practice a few times, we hope you’ll appreciate the elegant simplicity of a French omelet.
French vs. American Omelets
We love the American Egg Board’s website for its valuable information about eggs, but their recipe for a French omelet wouldn’t pass muster in a French chef’s kitchen. However, it’s a great recipe for an American omelet.
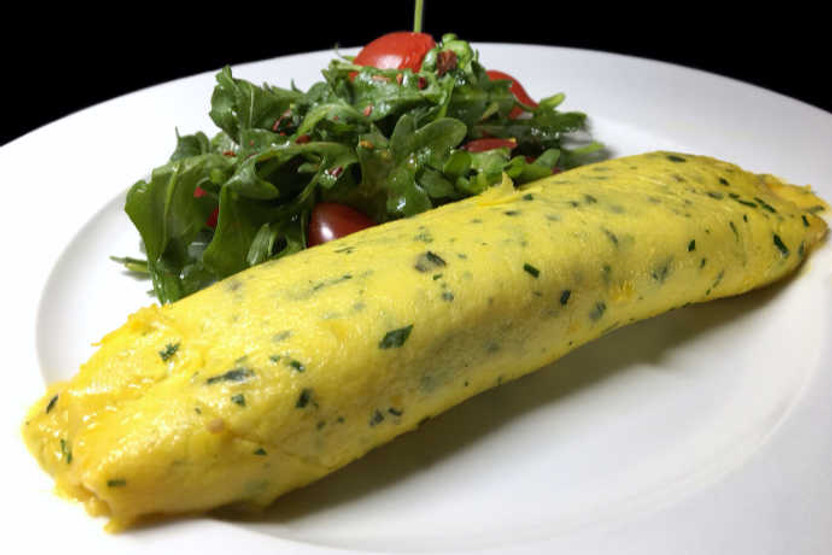
What’s the difference between French and American omelets? While the main ingredients are the same (butter and eggs) the technique and presentation are different. An American omelette is cooked longer so the egg browns slightly. It’s folded into a half-moon shape with the filling inside. A French omelette is cooked quickly so the egg stays soft and yellow. It’s folded into a cylinder with the filling (if any) on top. Once we’ve covered the five steps to a French omelet, it will be clear just how different they are, especially where it comes to the cooking technique.
Step 1: Tools and Ingredients
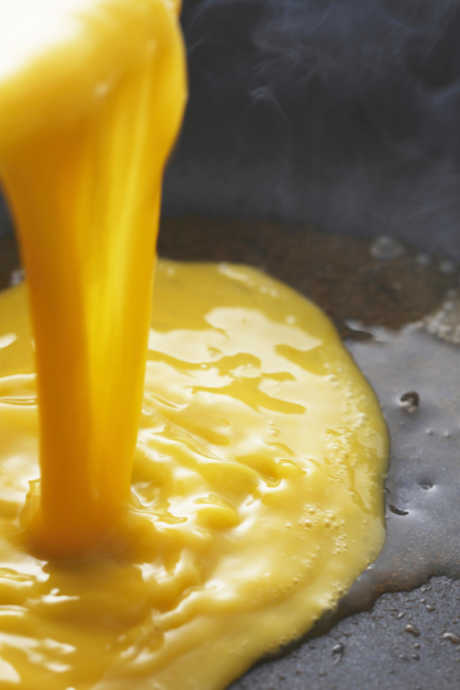
As we noted, the main ingredients (and possibly the only ingredients) in a French omelet are butter and eggs. Because a French omelet should cook quickly to avoid browning the exterior, be sure your eggs are at room temperature. You can even soak them in hot water, though make sure it’s not so hot that it will start to cook your eggs. Use the freshest butter and eggs you can find; when your recipe has only a few ingredients, it’s even more important they’re as delicious as possible.

The consensus even among the most elite chefs is that nothing beats a top quality nonstick pan for making an omelet. This is true even in restaurants, although some kitchens would set aside a select few highly seasoned carbon steel skillets solely for the purpose of making omelets and other delicate egg dishes. A nonstick pan makes for a flawless French omelet. Choose the size of your pan based on the number of eggs you are cooking, to keep your omelet from spreading too thin and overcooking.
Step 2: Mix and Heat
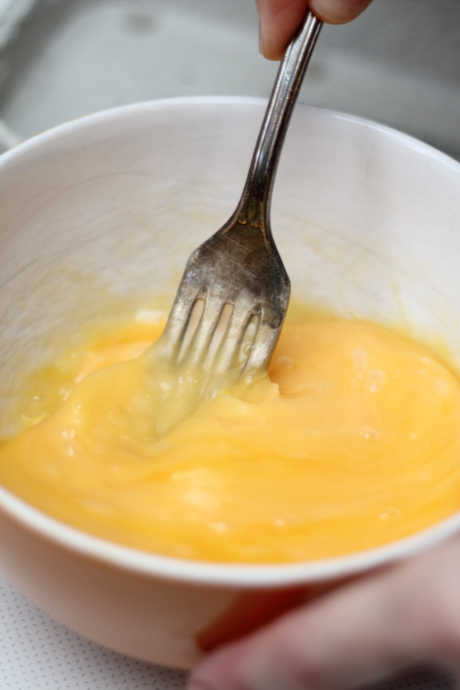
Once your eggs are room temperature at minimum, crack and mix them. You don’t need a whisk; in fact, most chefs prefer a fork. A fork will mix the white and yolk effectively. You can even pour your eggs through a fine mesh strainer to ensure they are smoothly mixed. Overbeating or using a whisk may add too much air, which can make eggs cook more slowly.

One key to a tender French omelet is a short trip in and out of the skillet, cooking as quickly as possible. While expert chefs like André Soltner can crank the heat up and move the pan on and off the skillet as needed, novices ought to cook at lower temperatures. This approach gives you a greater margin of error, so your eggs are less likely to overcook. The butter should melt readily without browning or sizzling.
Step 3: Stir and Shape
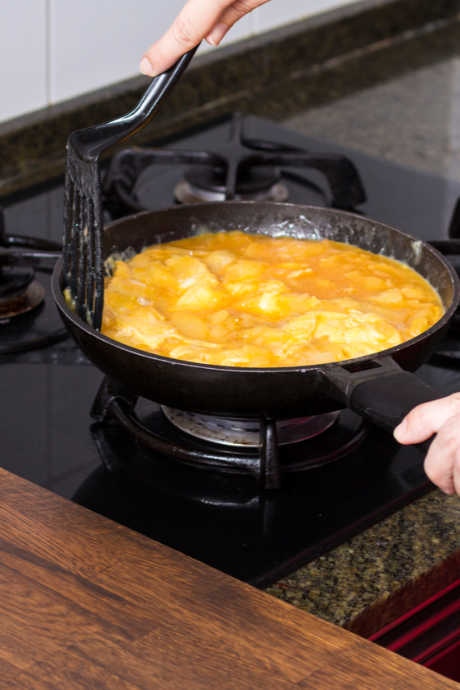
This step is where a significant technique difference comes into play. American omelets call for pushing, lifting, and tilting to get all of the egg in contact with the pan, but no stirring. With a French omelet, you’ll stir the eggs briefly to create curds, similar to scrambled eggs. Alton Brown calls for five seconds of stirring while Michael Ruhlman extends it to 30 seconds. But stirring duration is less important than the appearance of the eggs. They should start to set, but still be soft enough to come together into a single mass. It takes time and practice to recognize when it’s time to move from stirring to shaping.

Shape your omelet by using a heat-safe silicone spatula to smooth the edges. Lift up your omelet slightly around the circumference to ensure it isn’t sticking. The top will still have some liquid, but if the bottom holds, your omelet is nearly ready. The French use the word “baveuse” to describe the desired texture of the inside of an omelet.
Step 4: Shake and Roll
At this point, if you’ve used a good nonstick pan and plenty of butter, your omelet should slide easily. Give the pan a gentle shake to ensure the omelet isn’t sticking before you try to fold it. Then tilt the pan at a steep angle to use gravity to your advantage, and start folding the top edge of the omelet over onto itself. A fork is a better tool than a silicone spatula for this step, as a fork will give you more control. Alton Brown offers a great visual with his suggestion to think of “making a tri-fold wallet out of eggs” as you roll your omelet.
Step 5: Top and Serve
While an American omelet looks like an egg taco, a French omelet features chunky toppings spread over it. But first, some seasonings and fillings do belong inside. Mix salt and pepper into your raw eggs before adding them to the pan. You can also include other dried spices in your eggs, but we’d use fresh herbs sprinkled over the top rather than dried herbs mixed into your omelet.

Cheese also belongs inside your omelet. When the top is baveuse and you’re ready to remove the pan from the heat, that’s the time to add your cheese. Try some Gruyère or chevre (goat cheese), or take a tip from Ludo Lefebvre and use Boursin. He calls this cheese the “Velveeta of France,” and it’s common enough here in the US that your grocery store will likely have it in stock.
Michael Ruhlman advocates for a simple finish with butter, fleur de sel or Maldon salt, and fresh herbs. But if you want to make your omelet into a full meal, cut a slit from end to end and cover it with your chosen toppings. Get just as creative as you would with your fillings when making an American omelet. After a bit of practice, you may find omelets are so simple and delicious, they may become your go-to meal or snack, any time of day.
 Free shipping over $49


