Ask the Experts: How to Use a Whetstone
Posted by Julie on Aug 2nd 2019
While most kitchenware doesn’t require maintenance other than cleaning and commonsense good care, cutlery is different. Even if you use knife-friendly cutting boards, hand wash and dry your knives, and store them carefully, all cutlery must be sharpened to stay in peak condition.
There are a variety of ways you can sharpen knives. Electric knife sharpeners are a great option for beginners. Manual knife sharpeners offer the assistance of angle guards while allowing you more control over sharpening. But whetstones yield the most razor-sharp results. They may sound intimidating to a beginner, but once you master the technique, you may never go back to another sharpener.
What Is a Whetstone?
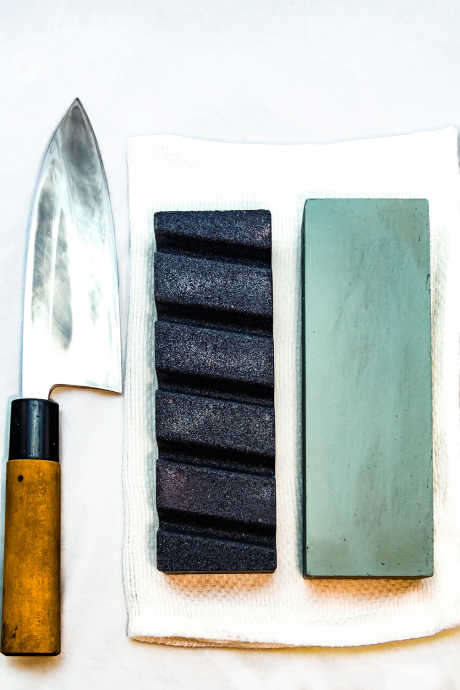
Whetstones can be made from natural or artificial materials. They work in much the same way as sandpaper or a nail file. As you move the blade of the knife over the surface of the whetstone, the grit of the stone removes metal from the blade and re-establishes the cutting edge. Unlike other sharpeners that are designed specifically for Asian or Western knives and use specific edge angles, a whetstone can be used to sharpen any knife.

“Whet” Does Not Mean “Wet”
“Whet” means “to sharpen.” A whetstone and a sharpening stone are the same thing. However, some whetstones are meant to be used while wet, and some are not. Read the instructions for your stone and follow them carefully. If your whetstone does need to be soaked in water, leave it submerged until no more bubbles come to the surface. Take care when sharpening carbon steel knives with a water-soaked whetstone. Carbon steel oxidizes quickly in water, so wipe the blade often while sharpening to remove excess moisture.
Whetstone Grits
Whetstones come in a range of grits, which are the measurement of the coarseness of the stone. The lower the grit, the coarser the stone, and the more metal it will remove each time you move the knife blade over it. Many whetstones have two sides with different grits. Use the lower grit side to re-establish the edge of the blade. Then switch to the higher grit side to refine that edge. Unless you have a knife with a chipped blade, you shouldn’t need a coarser grit than #1000.
How to Use a Whetstone
Are you ready to tackle the step-by-step process of using a whetstone? We recommend practicing with an older knife of lesser quality. While it may be constructed of lower grade steel, and therefore won’t ever be as sharp as a top-quality German or Japanese knife, you won’t have to worry about damaging your fine cutlery.
1. Establish a sturdy base for your stone. Some whetstones come with trays or mats. You can also place yours on a rubber shelf liner or even a damp kitchen towel. The idea is to ensure that neither the stone nor your knife will slip and cause you to injure yourself.
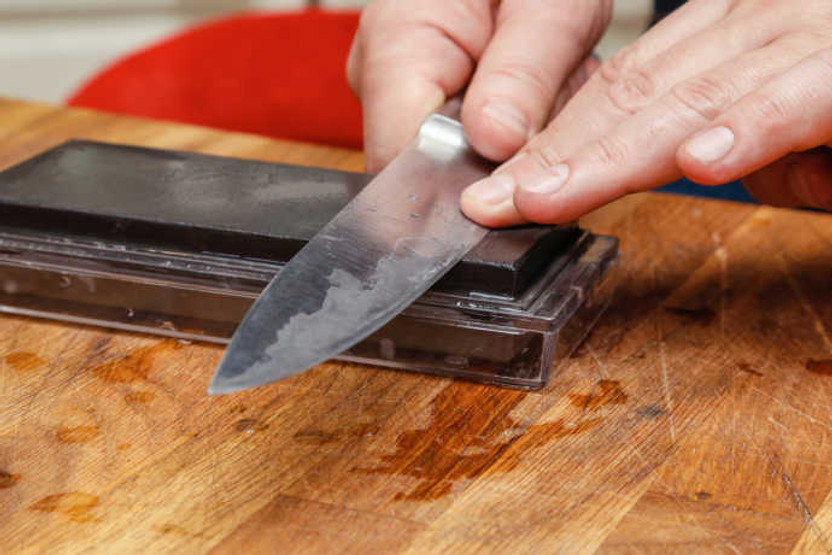
2. Determine the edge angle for your blade. Generally, Western-style knives have a 20-degree edge angle, and Asian-style knives have a 15-degree edge angle. To approximate a 20-degree edge angle, hold your knife perpendicular to the stone, and then tilt it to the halfway point between perpendicular and flat. This is about 45-degrees. Tilt it to the halfway point between 45-degrees and flat, and then drop it a bit more. Cooks Illustrated also suggests taping two stacked nickels to both sides of your knife blade for a 20-degree angle guide, or two stacked dimes for a 15-degree angle guide.

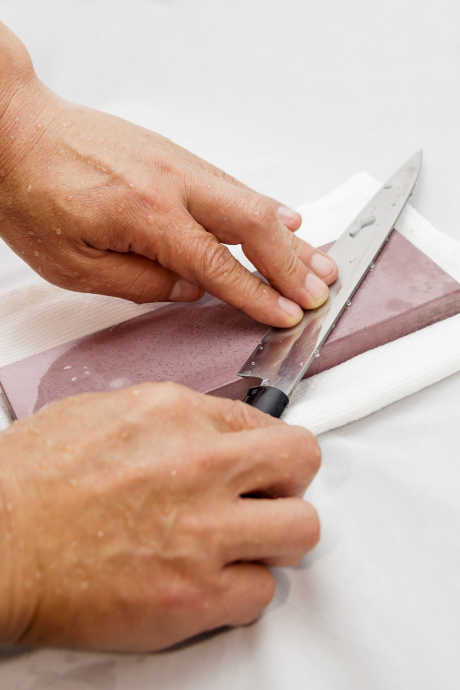
3. Hold your knife with the blade at the appropriate angle, and use your other hand to hold the flat of the blade against the coarser surface of the stone. Move the knife blade in only one direction for several strokes, picking it up after each stroke and returning to your starting point for the next stroke. Do the same with the other side of the blade.
4. Once both sides of the blade have been sharpened with the coarse grit side of the stone, turn the stone over to the finer grit side. Repeat the same several strokes for each side of the knife blade.
5. Finally, use a honing steel to finish aligning the blade and make sure any remaining metal particles are removed. Rinse and dry your newly-sharpened knife, and enjoy the results the next time you cook.
We offer a range of sharpening stones in a variety of grits, along with helpful accessories like bases and stands to hold your stone in place as you sharpen. Of course, if you’re near the Denver area, feel free to come by our showroom where we can sharpen your knives professionally.
 Free shipping over $49


