Kombucha: Yes, Please or We'll Pass
Posted by Julie on Mar 21st 2019
Kombucha is a naturally fizzy, double-fermented drink found everywhere from coffee shops and cafes to the chilled beverage sections of big box supermarkets. Kombucha devotees tout the health benefits of this probiotic brew that contains live bacteria cultures, polyphenols, B-vitamins, and organic acids. It’s available in a huge variety of flavor combinations, including fruits, vegetables, herbs and spices. Kombucha is also fairly spendy, at an average of four dollars a bottle. It can be as hard on your wallet as a fancy coffee drink habit.
You can make your own cappuccino at home with an espresso machine, but what about brewing your own kombucha? We decided to investigate homemade kombucha for our latest “Yes, Please or We’ll Pass” post. Could we produce a drinkable batch of kombucha in our own kitchen? Keep reading to find out.
History and Basics of Kombucha
While it might seem kombucha is a modern trend, it actually originated in China over two millennia ago. A Korean doctor -- Dr. Kombu -- brought it to Japan to treat the emperor’s ailments, and gave his name to the drink. Kombucha made its way to Russia and Germany, where it continued to be hailed for its health benefits.
Those presumed health benefits are still a matter of debate. There hasn’t been much scientific study of kombucha’s effects, though its components -- like polyphenols and organic acids -- have been shown to be beneficial in other studies not directly related to kombucha consumption. Polyphenols are antioxidants that reduce inflammation. They’re naturally present in tea, and the fermentation process increases their numbers. Organic acids like acetic and glucuronic acid act as carriers for polyphenols in your body. They’re antimicrobial, and they aid liver function. While the effects of these acids and polyphenols in kombucha aren’t yet clear, they’re likely to be helpful in moderation.

Kombucha’s primary ingredients are tea, water, and sugar, but it’s the SCOBY -- symbiotic culture of bacteria and yeast -- that transforms these ingredients from sweet tea into kombucha. You can grow your own SCOBY like we did, or you can purchase one. You can also get a SCOBY from another kombucha brewer; each new batch of kombucha produces a baby SCOBY. Once you have a SCOBY and a cup or two of the liquid in which it was grown, you’re ready to brew.
How to Grow a Kombucha SCOBY
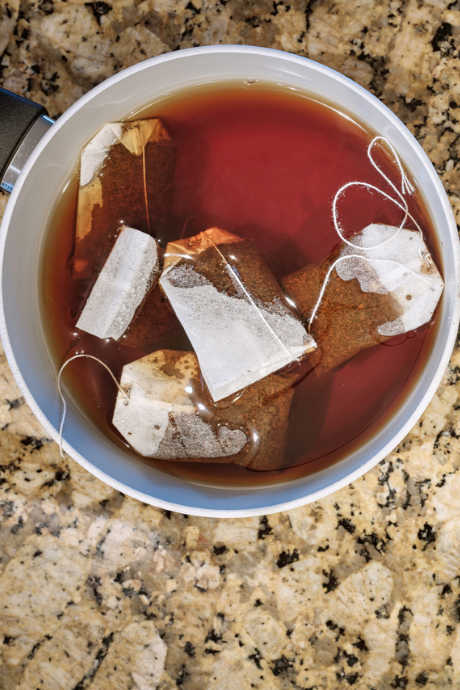
We could have ordered a SCOBY online, but it was cheaper and more adventurous to grow our own. All we had to do was buy a bottle of kombucha and brew a cup of tea. Start with unflavored raw kombucha; skip the flavored varieties in this case. The same is true for your tea: Use plain black tea, without any added flavoring. You can use high-quality loose leaf black tea, or a more economical bagged variety. We actually dug into our giant box of Lipton tea bags to grow our SCOBY, and Lipton didn’t let us down.
We combined our cooled tea, our bottle of kombucha, and a tablespoon of sugar in a quart jar. Then we covered it with a tea towel, secured the towel with a rubber band, and put it in the pantry to grow. We’ll admit we worried a bit over the first two weeks: there didn’t seem to be anything brewing in our jar. But soon afterward, there was clearly a SCOBY forming at the top. We’d never been so excited to witness bacterial growth in our kitchen!

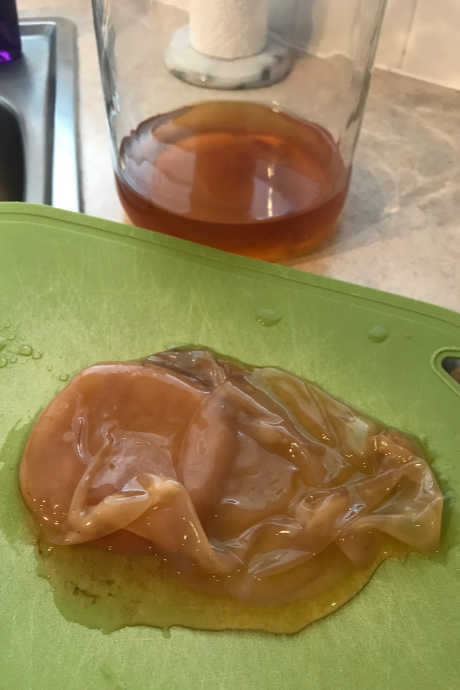
This SCOBY is the one we grew. It also has a "baby" SCOBY forming on top, which happens during the brewing process. We could detach the baby SCOBY from the mother and give it to a friend who wants to start brewing kombucha.
Brewing Kombucha
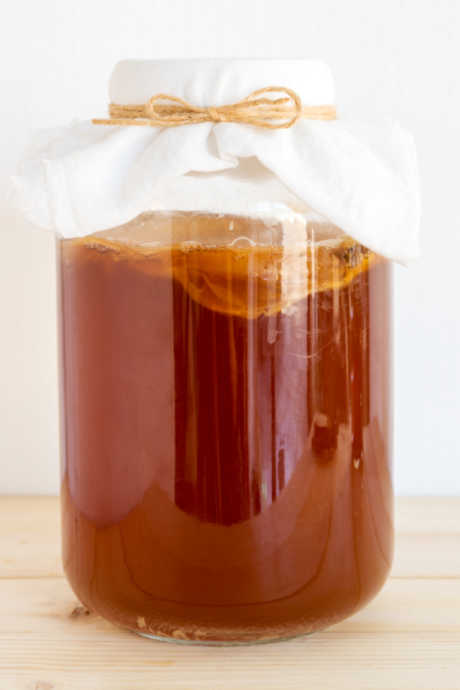
Now that we’d grown our very own SCOBY, it was time to brew a batch of kombucha. We got out the box of Lipton tea bags again, and boiled a quart of water for steeping our tea. Then we stirred a cup of sugar into the hot tea. Once the tea cooled, we added it to a gallon-size glass jar, along with the SCOBY and the liquid in the SCOBY jar, and filled the gallon jar to the top. Once again, we put a tea towel over the top, secured it with a rubber band, and returned the jar to the pantry.

The sugar we added to both jars -- when we grew our SCOBY and when we brewed our first batch -- is meant to feed the yeast. It’s necessary for fermentation. While it may seem as if adding a cup of sugar to a gallon of kombucha will make it quite sweet, much of that sugar will be consumed by the SCOBY. That’s also why it matters what sort of sugar you use. Plain white sugar is the easiest choice that’s best for the SCOBY. Artificial sweeteners, or even natural sweeteners like molasses or honey, won’t produce good results.
About five days after we set our gallon jar in the pantry to brew, we took it back out, removed the tea towel, and moved the SCOBY gently aside with a straw so we could taste our brew. We were pleasantly surprised by how good it was! The taste was sweet with a slight sour tang and the brightness of vinegar. It was better than we’d expected it would be. In retrospect, we probably ought to have let it ferment a couple days longer. Kombucha generally requires at least a week to ferment, and it can continue for up to four weeks, depending on desired taste. Because you’ll probably want to add flavor to your kombucha, it’s okay if the raw brew is on the sour or vinegary side.
Bottling Kombucha
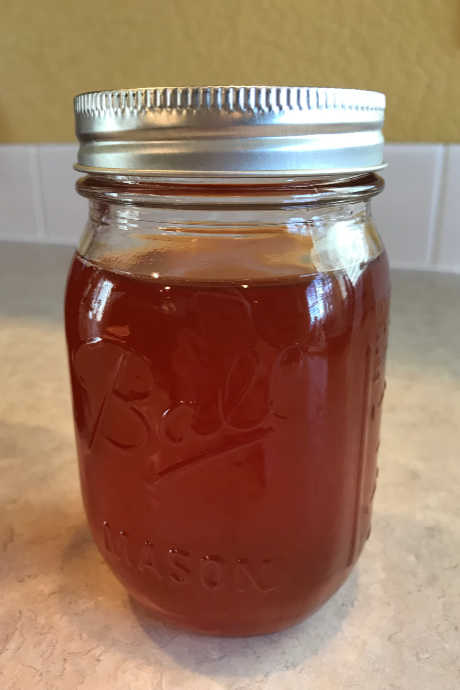
We transferred our freshly-brewed kombucha to an assortment of Mason jars, added a couple tablespoons of tart cherry juice to each jar, and capped them tightly. Then we put them back in the pantry once more to continue fermenting, which produces carbon dioxide as a by-product. That’s how homemade kombucha gets fizzy, as opposed to commercially-produced kombucha which includes added carbonation.

What we discovered after the fact is that Mason jar lids can allow carbon dioxide to leak. Therefore, although we allowed our kombucha to ferment for another three days (which should have been enough time for them to fizz), our batch turned out flat. Next time, we will use flip top bottles and taste our brew for bubbles before moving it to the refrigerator.
Next Time? Yes, Please!
That’s right -- we got hooked on brewing kombucha. Even though our first batch didn’t bubble, we learned from our mistakes, and we’re ready to try again. After all, we went to the trouble of growing a SCOBY, and we bought a gallon-sized glass jar. It was fun to create a drink that’s full of beneficial living organisms, and the taste was much better than expected. We’re looking forward to adding fresh strawberries and raspberries to future brews, or trying out other flavor combinations like lemon and ginger or cucumber and melon.
 Free shipping over $49


