How to Grow Herbs
Posted by Julie on Apr 22nd 2020
You might have enough outdoor space to grow a garden, or you might opt for planting tomatoes in pots. But even the smallest abode has room for growing herbs. Use them fresh or dried; either way, herbs offer color and taste to perk up your dishes. Keep reading to learn about different herb varieties, and how to grow and harvest them at home.
Herb Varieties to Grow at Home
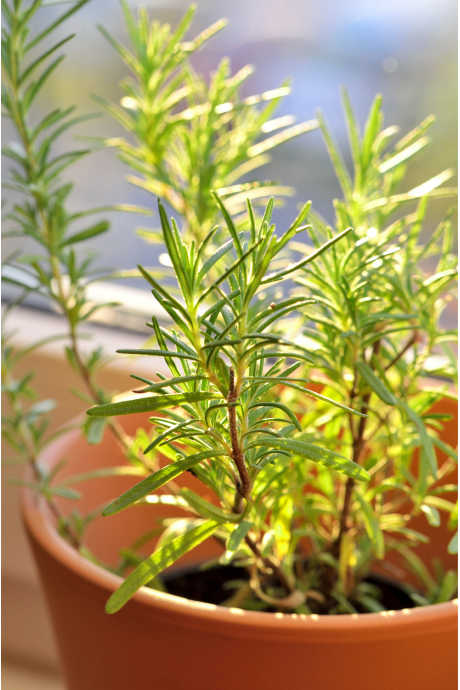
You may already be familiar with how flowers can be annuals or perennials. Herbs are the same; some are annuals, while others are perennials. Of course, growing zone is also a factor. Some perennials can’t handle especially cold temperatures. Self-sowing is yet another factor. Some annuals drop seeds in the fall that germinate in the spring. While the original plant dies, a new one grows. Many perennials do the same, adding to the number of plants in a pot or herb garden.
Examples of common perennial herbs include:
- Sage
- Thyme
- Chives
- Mint
- Oregano
- Rosemary
- Lavender

Examples of common annual herbs include:
- Basil
- Parsley
- Coriander (which produces cilantro leaves)
- Dill
- Lemongrass
- Stevia
Growing Herbs From Seed
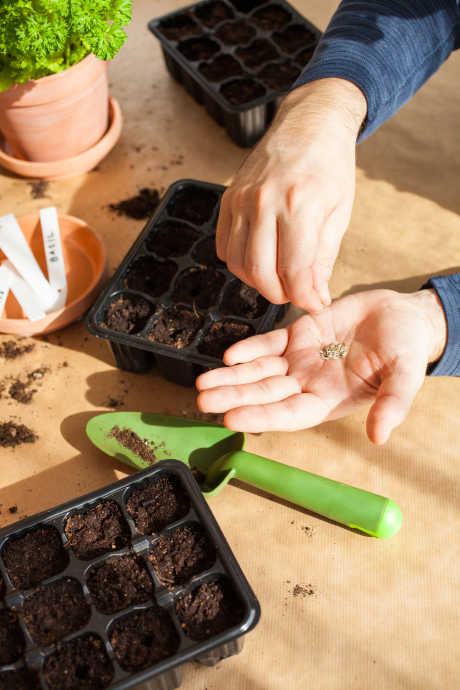
You can always buy potted herbs at a local garden store. But if you’d like to grow them from seed, it’s easier than you might think.
Start with potting mix. Some types of potting mix are specially formulated for starting seeds. Even if you eventually want to transplant your herb seedlings to another container or to your garden, potting mix will give them a better start than garden soil. That’s because it contains more nutrients and allows moisture to drain more easily. You can also add compost and perlite to your potting mix, if it doesn’t already contain these components. Compost offers nutrients, and perlite facilitates drainage.
You can use potting mix with growing trays or cells, or you can add it to plastic or ceramic pots. Herb seeds are tiny; they don’t need to be buried deep in the mix. Press the seeds onto the surface of the soil and moisten it. Better Homes & Gardens recommends covering the trays, cells, or pots with plastic wrap to retain moisture, and we concur, having used this strategy successfully ourselves. If you use a growing tray, it might even come with a clear plastic top that’s intended especially for this use.

Once the seeds sprout, remove the plastic covering and move the trays or pots to a sunny window; south-facing is always best. You can mist seedlings with a spray bottle, but Better Homes & Gardens recommends watering the potting mix from the bottom up. Do this by placing trays or pots in a shallow sinkful of water. Remove them once you see droplets of water appear on the top of the potting mix.
Wait until the seedlings have grown about two inches before transplanting them. Keep reading to learn more about how to repot different types of herbs.
Growing Herbs From Cuttings
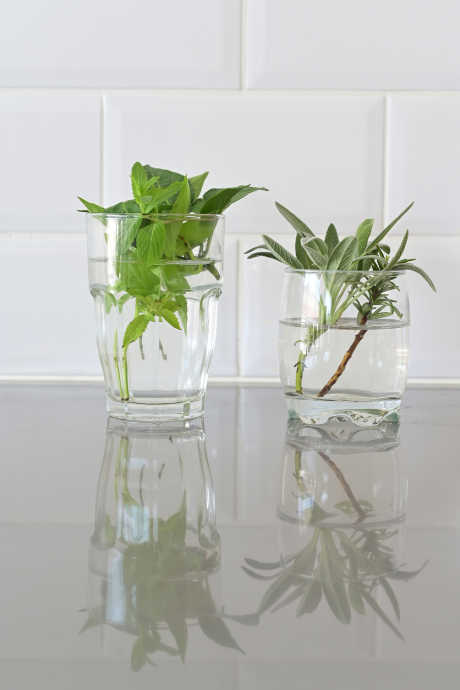
If you don’t have seeds, you can also regrow herbs using cuttings from existing plants. Many herbs can be grown from cuttings in water, including mint, rosemary, thyme, basil, and oregano. Simply submerge the stem in a cup or glass of water, and wait for it to develop roots.

Wide Open Eats suggests placing a clear plastic bag or wrap over the exposed leaves of your cuttings. This helps prevent moisture loss through the leaves, while still allowing them to receive light. They also advise removing any leaves on the part of the stem that will be submerged in water, leaving only a few leaves at the top of the cutting. Finally, use tender green stems rather than tougher, more woody stems to improve your chances of growing new roots. Once those roots appear and new leaves sprout at the top, you can transplant your herbs to pots.
Where to Grow Your Herbs
Should you leave your herbs in pots, or plant them in permanent locations outdoors? That depends on the growing zone where you live, and what types of herbs you’re growing. Some are hardier than others and can remain outside over the winter if they are perennials. Others should be moved indoors if you want them to survive. But the good news is that no matter where you live, herbs can thrive indoors with enough light and proper watering. Bonnie Plants offers this rule of thumb: If the temperature of your home is comfortable for you, your herbs are likely comfortable too.
If you’re growing herbs outdoors, you’ll want to confine some varieties to pots, or they may take over your garden bed. Mint is notorious for spreading out of control, and lemon balm can be aggressive too. If you’ll need to bring those pots inside for the winter, make sure they are small and light enough to move easily.
Harvesting and Maintaining Your Herbs
Once you’ve established herbs in pots or a permanent location outdoors, monitor their growth and health. For indoor herbs, watch for yellowing leaves, longer stems between leaf sets, and smaller leaves. Bonnie Plants advises that all of these signs indicate a plant isn’t getting enough light.
It’s also important to ensure the soil is well-drained, even after your herbs are established. Bonnie Plants offers smart advice on this point too: Choose a pot with adequate drainage, and use a saucer to catch any overflow. A pot without drainage holes will keep the soil too wet, and the roots of your herbs will suffocate and rot. If you don’t use a saucer to catch excess water, it will drain onto the surface where you’ve placed your pot (and possibly ruin it).

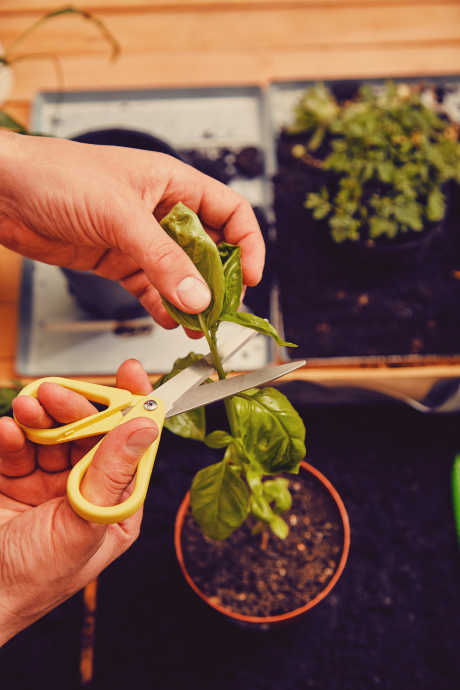
Harvest outdoor herbs first thing in the morning for best results. Later in the day they will be drier and less tender.
We especially like this simple quick reference guide from Burpee for harvesting herbs, whether you’re growing them indoors or outside. In general, cut no more than one-third of the plant at a time when gathering herbs, so it can easily replace the lost growth. In fact, harvesting helps encourage growth. Finally, the Burpee guide also offers helpful guidance for using and preserving fresh herbs. You can dry them at home for longer term storage, freeze them in ice cube trays, or add them to butter or olive oil.
Whatever herbs you choose to grow, and however you choose to use them, we hope this post has encouraged you to give it a try!
 Free shipping over $49


