Make Your Steak Better With a Reverse Sear
Posted by Julie on May 13th 2019
When most people cook a steak at home, we use a dry heat cooking method such as grilling, broiling, or searing. We cook each piece of meat until the center temperature reaches the point of doneness we want: rare, medium-rare, medium, medium-well, or well-done. The main problem with this method is that only the center of the steak is done the way we like it, especially if we like it rare, medium-rare, or even medium. The rest of the steak is overcooked.
When you reverse sear a steak, nearly all of it is cooked to your preferred doneness. Then you quickly sear the outside for that delicious brown crust. Best of all, this method is easier than you might think. Get yourself a steak and a meat thermometer, and let’s get started.
What Is a Reverse Sear?
The name of this method comes from the way steaks have historically been prepared in restaurants. But instead of searing first and gently heating the steak afterward, a reverse sear brings the temperature up slowly until the steak is done to your liking. Then you sear the exterior right before serving.

The reason this method works so well has to do with physics:
“The higher the temperature you use to cook, the faster energy is transferred, and the less evenly your meat cooks. Conversely, the more gently a steak is cooked, the more evenly it cooks.”
With traditional dry heat cooking methods, you cook the outside of the meat first. With a reverse sear, you cook the inside of the meat first. Once the inside is nearly done, you cook the outside. It really is that simple, but keep reading for more details to help make sure you get it right.
Why Should You Reverse Sear?
Reverse searing offers a whole host of benefits, not the least of which being how easy it is! Here’s a quick rundown of reasons to try this cooking method.
Better Control Over Doneness: If you like your steak anywhere from rare to medium, a reverse sear will help ensure you don’t overcook your meat.
More Even Cooking: Remember, the more slowly you cook meat, the more evenly it will cook. Your steak will be medium-rare throughout the entire piece of meat, save for the crusty, seared exterior.
Better Browning: Because the inside of your steak is already cooked nearly to the desired temperature before you cook the outside, you can focus on getting that coveted Maillard reaction. That’s the scientific name for the chemical changes that take place when cooking with high heat. It’s what makes the exterior of a steak so delicious.
Flexible Timing: As you’ll see below, the slow cooking part of a reverse sear can be done at different temperatures, depending on your timeline. You can also press pause between the slow cook and the quick sear steps. Because it takes so little time to sear the exterior of each steak, you can time dinner perfectly with this method.
Non-Traditional Cuts: While a reverse sear is ideal for the cuts of beef you’d usually cook with a dry heat method, it can also be used for some tougher cuts that would normally call for wet heat, like chuck roast or round steak. Because you cook the meat low and slow, it grows more tender even with dry heat.
Choose Your Steak and Assemble Your Tools
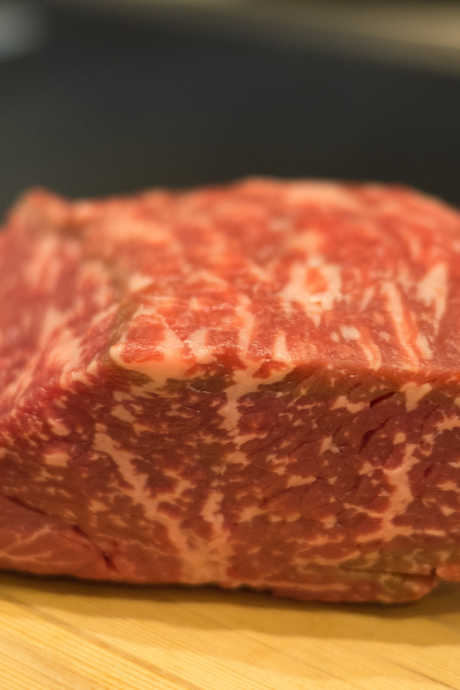
A few words of guidance and caution before you start reverse searing: While this method works well for many cuts of meat, you should be sure your steak is at least an inch and a half thick. Thinner cuts are better suited for grilling, broiling, or searing without slow cooking beforehand. That’s because the heat penetrates the entire steak quickly enough that you can achieve desired doneness in one step. Look for thicker cuts of well-marbled steak, such as sirloin, tenderloin, or ribeye.

You will also need a meat thermometer to ensure you’ve hit the right temperature during the slow cook step. Because you will remove the meat from the oven before it’s done, the usual shortcuts for gauging doneness aren’t helpful. Using a meat thermometer will yield much better results.
Finally, a baking pan and wire rack are important for the slow cook step, and you’ll want to sear your steak in a cast iron or stainless steel skillet. This is not the time for nonstick cookware.
Prep Your Steak
While a reverse sear gives you a great deal of flexibility during the cooking process, several hours of inactive prep time will make your finished steak even better. That’s because the drier your steak is, the better it will brown due to the Maillard reaction. The Maillard reaction produces water; if water is already present, the reaction won’t proceed as strongly.
There are a few ways to dry your steak prior to cooking. Start by putting your cuts of meat on a wire rack set in a baking pan. Line the pan with foil for easier cleanup. Salt all sides of each piece of meat, which will help draw moisture out. Then put the pan in the refrigerator for several hours or even overnight. When you’re ready to start slow cooking, let the pan sit on the counter so the meat comes up to room temperature before popping it into the oven. Finally, pat each cut with a paper towel to remove any surface moisture.
Cook Low and Slow
Your oven temperature should be set between 200ºF to 275ºF. The higher end of this spectrum will cook your steak faster, but the lower end will cook it more evenly. If you have the flexibility, we recommend going with a lower temperature. You’re more likely to end up with a steak that’s done perfectly all the way through. The gentle heat also helps dry the surface of your meat, which further promotes the Maillard reaction when it’s time to sear.
Don’t cook your steak to its full doneness in the oven. Remember it will cook some more during the second step. Instead, pull it out of the oven when it’s 10ºF to 15ºF cooler than the optimal temperature for rare (120-130ºF), medium-rare (130-135ºF), or medium (140-150ºF). This means you’ll have to start checking the temperature after about 20 minutes in the oven. The key is to get your steak out of the oven at the right point; it doesn’t have to go immediately into the skillet. It can even sit on the counter for an hour or more before you sear it.
Sear Hot and Fast
Ready to put dinner on the table? It will only take a few minutes to sear each cut of meat. It’s already done to your liking; the goal of this step is to achieve that Maillard reaction and put a savory crust on the outside of your steak.

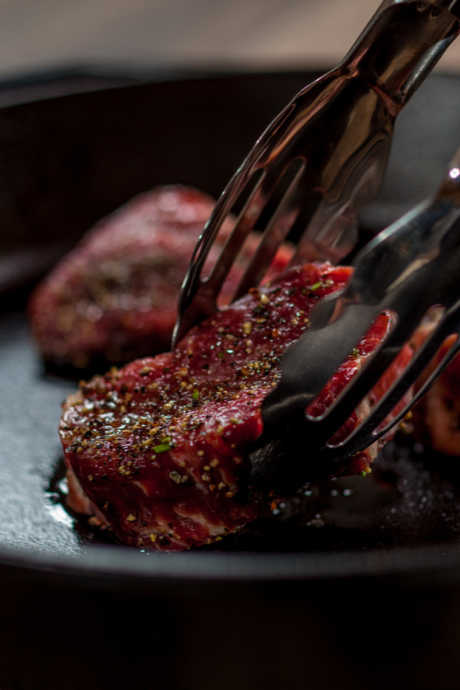
Get out your cast iron or stainless steel skillet and preheat it on high. Rather than adding oil to your skillet, rub it onto the surface of your steak instead. This approach will help reduce the smoke from searing, but we still recommend turning on your exhaust fan. Because you aren’t trying to cook the interior of your steak, only sear each side for as long as it takes to get that dark brown crust. You can even use tongs to hold the steak on its side and brown the edges too.
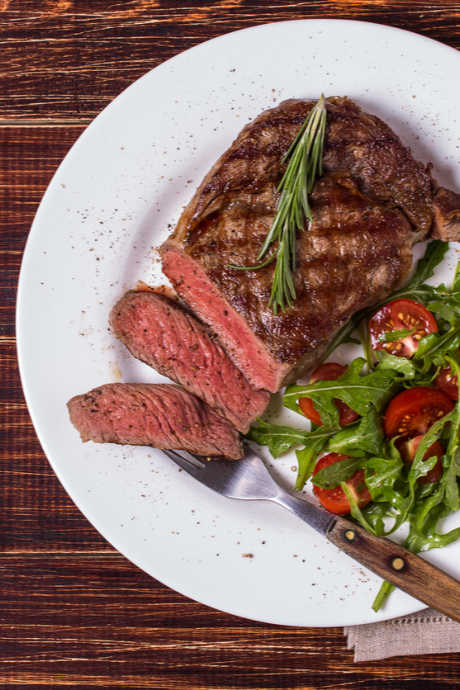
No need to rest your meat before serving. Slice it on a cutting board, or simply transfer individual pieces to plates and serve. After a successful reverse sear, your meat should be tender, perfectly cooked all the way through, and finished with a delicious crispy exterior.

