The Easiest Holiday Treat: Chocolate Bark
Posted by Julie on Dec 17th 2018
Not everything we make for the holidays needs to be labor-intensive or take all day (and half the night). One of our favorite holiday treats to give as a gift is simple, quick, and won’t break the bank. We’re talking about chocolate bark.
While chocolate bark is always good, we want to help ensure your chocolate bark stands out. Whether you keep it simple or make it elaborate, we hope you’ll remember these tips and tricks.
5 Steps to Memorable Chocolate Bark
1. Use good quality chocolate
You’re making chocolate bark, and the primary ingredient is chocolate. Now is not the time to skimp on ingredients. Choose the best quality chocolate you can find. While you may find some quality chocolate such as Ghirardelli at the grocery store, consider shopping online or at a specialty store.

What not to use: chocolate chips, which are made with stabilizers to help them keep their shape, or candy coatings or bark found at the supermarket. The best chocolate bark is made with real chocolate.
2. Temper your chocolate (the easy way)
Since you’ve gone to the effort to use the best chocolate you can find, make sure it looks and tastes delicious by tempering it. Tempering chocolate is like tempering eggs: It sounds more complicated than it really is, and it makes a big difference in your results.
Tempering simply stabilizes the cocoa butter crystals in chocolate by heating and cooling them. Tempered chocolate is glossy and has a distinct snap when you break it or bite into it. Untempered chocolate has a dull sheen, and it can be crumbly or develop light discolorations.
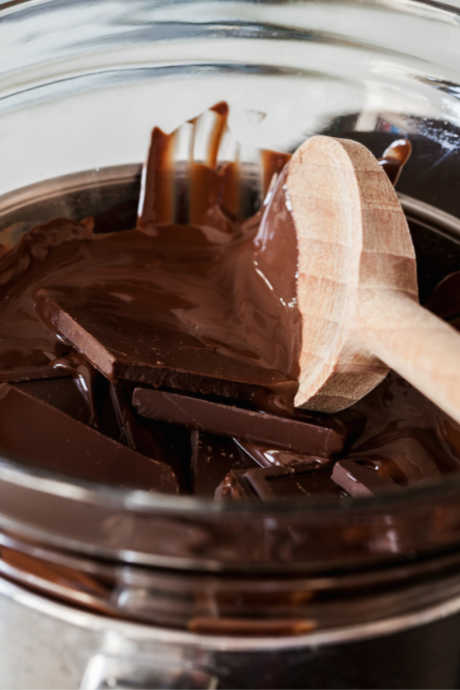
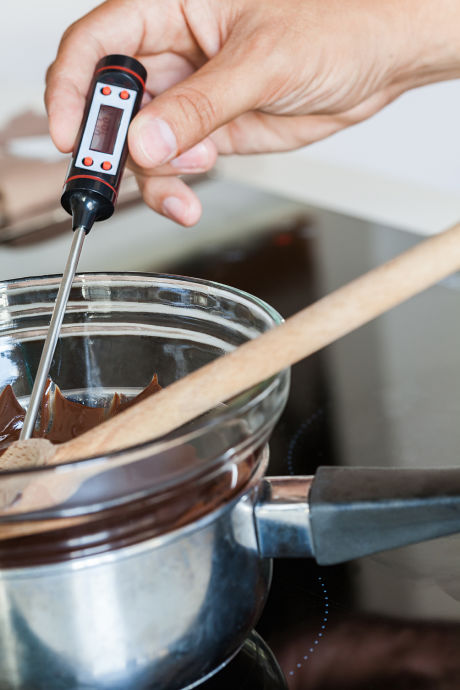
Tempering chocolate is as easy as melting part of your chocolate in a double boiler, and then adding the rest of it to the melted chocolate. As you stir the solid chocolate into the melted chocolate, the temperature drops but the chocolate is still liquid.

You can use a thermometer to monitor your chocolate as you temper it, but you can also wing it. As your chocolate cools, put a drop of it on the inside of your wrist. If it feels hot, it’s way too hot. If you can’t feel it, it’s still too hot. If it feels cool, it’s just right.
3. Mix it in
You don’t actually need a recipe for chocolate bark; you only need to think creatively. Epicurious offers a whole string of recommendations to inspire you, including salted peanuts, dried fruit, and even potato chips. If you’ve been thinking about buying a Breville Smart Oven Air, this is one more reason to pull the trigger: You can dehydrate fruit in it.
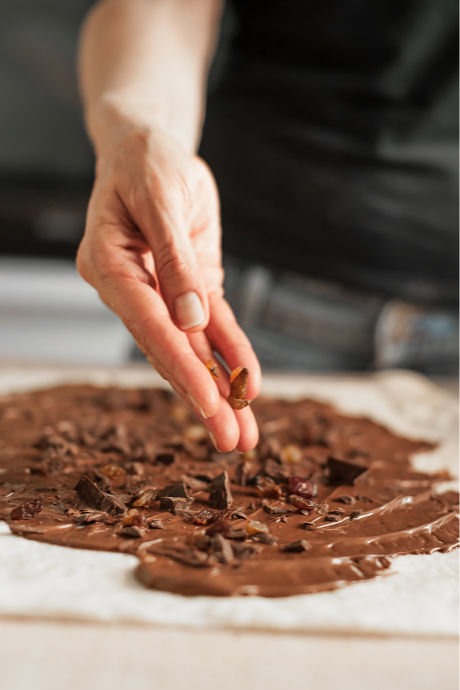
Don’t just sprinkle your add-ins on top of your chocolate bark. Mix them into the melted chocolate too. But do be sure to save some for scattering on top, which will make your bark beautiful.
4. Spread it thin
Before spreading your chocolate, be sure it’s still in temper. If not, place it back over the double boiler to gently warm it. This trick is why we prefer melting chocolate on the stovetop instead of the microwave.

Get ready to spread your chocolate on a baking sheet covered with parchment paper. You can pour it or spoon it onto the sheet, but then use an offset spatula or icing knife to spread it quickly before it cools. Keep it thin — thinner bark breaks apart more easily and will make your chocolate budget stretch further.
5. Do not refrigerate
After you’ve cooled the bark in a refrigerator or freezer, and you’ve broken it into pieces, don’t refrigerate it again. Fine Cooking explains the reason why:
Condensation will occur when you take it out. When the water evaporates, dissolved sugar remains on the surface of the chocolate, leaving an unpleasant residue known as sugar bloom.
Once again, you’ve gone to all the trouble to buy high quality chocolate and temper it. Don’t let improper storage mar your creation.
5 Must-Try Chocolate Bark Recipes
If you’d still feel more comfortable embarking on chocolate bark with a tried and true recipe in hand, we understand. That’s why we gathered five recipes, from the traditional to the mainstream to the completely unexpected. Give these recipes a try, and feel free to ship some of the results to us.
1. Peppermint Bark
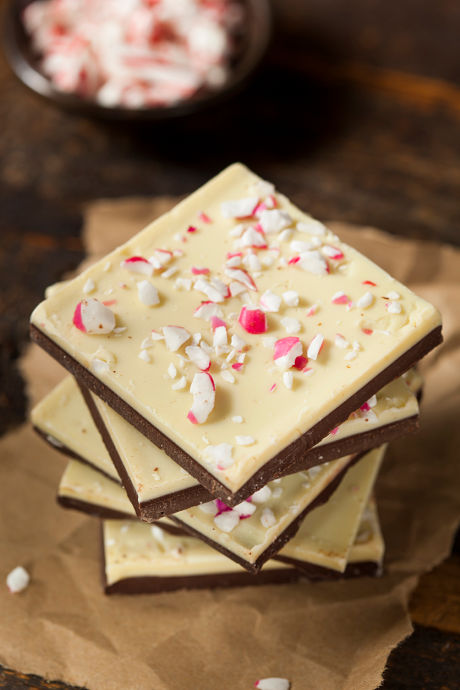
We’ve made many batches of peppermint bark over the years, and this recipe from King Arthur Flour is right on target. Note that they use Merckens chocolate, which comes in melting disks and is available online. Be sure to take some of those candy canes you’ve got set aside for stockings and crush them to mix into the white chocolate layer.

2. Mint Chocolate Swirl Bark
This recipe from Sally’s Baking Addiction is for the mint chocolate lovers out there. Sally uses Ghirardelli chocolate for both layers, and she offers a couple options for turning the white chocolate a light minty green. Take a knife or skewer and pull through the two layers to create the signature swirls. Keep this trick in mind when making other types of chocolate bark or decorating cookies with royal icing.
3. White Chocolate Cinnamon Roll Bark
For people who prefer white chocolate, try this recipe from Stress Baking. We prefer dark chocolate ourselves, and we’re still going to give this one a shot. The swirl is made from butter, sugar, and cinnamon, and it won’t fully harden the way chocolate does. Be sure to watch the video to get a better idea of how to create those dreamy swirls.
4. Breakfast Bark
We’ve got to hand it to Reynolds. They’ve turned our heads with two chocolate bark recipes that both sound scrumptious. First up, this recipe has a milk chocolate base with bacon and Chex cereal sprinkled on top. Yes, you read that right. If you’re a fan of sweet and salty, we bet this recipe sounds as good to you as it does to us.
5. Superfood Bark
On the other end of the sophistication spectrum is this recipe from Reynolds, which has a dark chocolate base sprinkled with dried cranberries and blueberries, plus pink Himalayan salt. While this recipe is also on the sweet and salty side, save it for the people you most want to impress.
 Free shipping over $49


