Open Your Eyes to Blind Baking Pies
Posted by Julie on Oct 25th 2019
Baking season has begun, and we’ve stocked up on flour, sugar, butter, and all the other baking essentials. But we’re also brushing up on our baking skills so our finished creations turn out like we’ve planned. We’ve covered a range of key topics in the past, like time and temperature, ingredients, and tools and techniques. In this post, we’ll discuss the specifics of blind baking, which is an important part of making praiseworthy pies.
Why Blind Bake Pie Crust
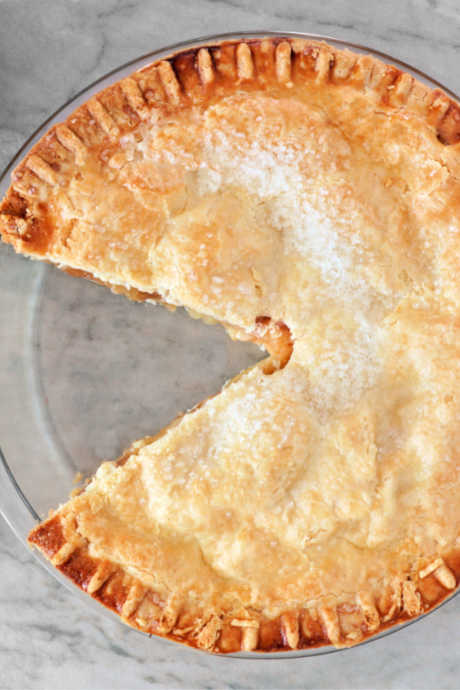
Blind baking simply means to bake a pie crust in advance. Depending on the kind of pie you’re making, you’ll bake the crust until it’s partially or completely done before adding the filling. For cream or custard pies where the filling isn’t baked, fully bake the crust before adding the filling. For pies where the filling is baked but only briefly, such as lemon meringue, partially bake the crust before adding the filling. Blind baking is even a good idea for fruit pies, which bake for a long time. This technique helps the bottom crust stay firm and crisp, without absorbing the juicy fruit filling.
How to Blind Bake
There’s more to successfully blind baking pie crust than simply pressing it into your pie dish and sliding it into the oven. Part of what makes pie crust so delicious is the bits of fat -- butter or shortening -- that melt in the oven and produce pockets of steam. The crust forms flaky layers around those pockets. To keep the bits of fat from melting into a puddle, and to keep those pockets of steam from expanding into bubbles across the bottom crust of your pie, blind baking requires a few extra steps to do it right.
Chill and Roll Your Dough
First, after you’ve mixed your dough and it’s come together in a ball with bits of fat scattered throughout, pop it into the refrigerator. Cold dough will roll out and take shape much better than room temperature dough.

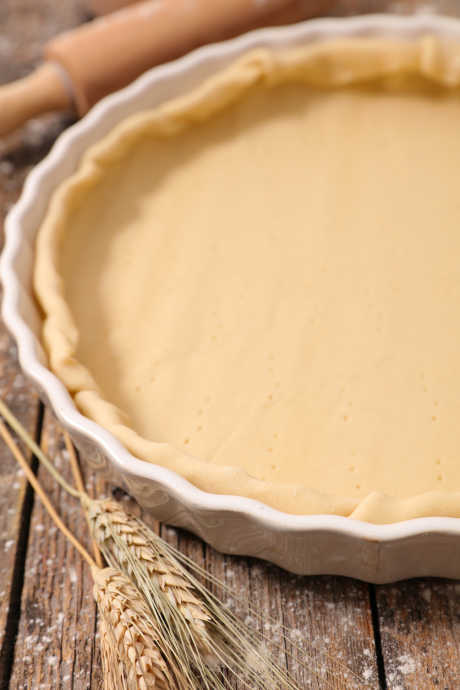
Plus, those bits of fat need to stay separate from the rest of the dough. If they warm up, they’ll start to be absorbed, which will affect the texture of your crust. After you roll out your chilled dough -- quickly, using minimal flour -- place it in your pie dish and form a decorative edge by pinching and shaping the dough.
Line Your Crust
This step is where you start getting ready to blind bake your crust. Line the dough in your pie dish with an oven-proof barrier. Food52 and Sally’s Baking Addiction, along with a whole host of other sources, recommend using parchment paper.
However, we’re tempted to go with Serious Eats and use aluminum foil instead. They offer three great reasons why foil is superior to parchment paper. One, parchment paper absorbs butter from the dough, while foil does not. Two, foil can take the shape of the interior of your pie shell more fully than parchment paper. Finally, you can bend the foil over the edges of your crust to protect it from browning too much.
Weight the Crust
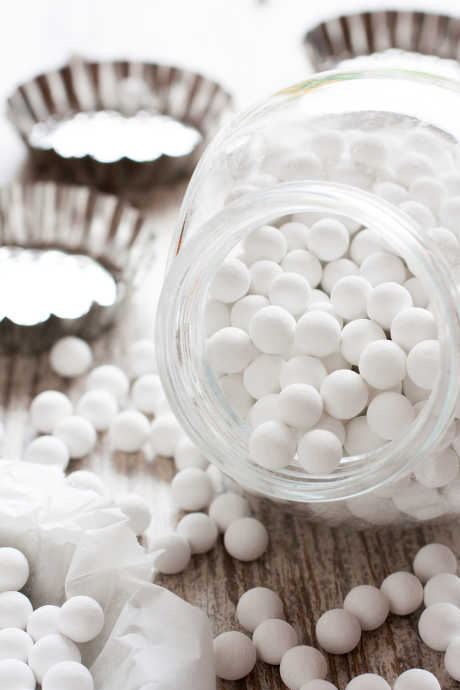
Whether you line the dough with parchment paper or aluminum foil, the next step is to add weight. By placing something heavy inside your pie shell, it holds your crust in place while it starts to bake. Many bakers use dry beans, or you can buy ceramic pie weights or a stainless steel pie chain, like this one from RSVP.

Once again, Serious Eats goes a different way, and we’re inclined to follow them. They fill their aluminum foil-lined pie crust with sugar instead of beans or weights. We love the idea of using sugar because not only is it heavy, it’s also far more granular than other options and will weigh down every square millimeter of crust. Plus, you can save the sugar and reuse it when blind baking future pies. Then, use the toasted sugar in other recipes, like cookies, quick breads, or even another pie filling.
Chill Your Dough Again
Once your pie crust has been rolled out, shaped, lined, and weighted, it needs to be chilled again. Cold fats are the key to a flaky pie crust. You can experiment with timing -- Food52 suggests as little as 15-30 minutes, while Serious Eats insists on two hours -- but the gluten needs time to relax while the fats solidify again.
Bake the Crust
One of the primary goals of blind baking is to get a crisp bottom pie crust. When baking, there are a few ways to help achieve this goal. Start with placing your baking rack in the bottom third of your oven so the bottom of your pie is closest to the heat source. You can also place your pie directly on another heat source, like a pre-heated baking sheet or baking stone.
Baking temperature is yet another point on which our sources disagree. Food52 advocates for starting at a high temperature such as 425ºF, and then reducing the heat if your crust starts to brown too much. Serious Eats prefers to bake at a lower temperature for a longer period of time. We tend to think each method is best suited to the liner and weights used by each source. That is, if you line your crust with aluminum foil and weight it with sugar, it will stay in place and bake evenly at a lower temperature. But if you use parchment paper and weights or beans, the spotty coverage means more places where the crust might slip or puff. Better to bake hotter and faster.
Extra Tips and Tricks for Blind Baking
Want to hedge your bets even further? We’ve gathered a few more tips and tricks to help maximize your chances of turning out a flaky, brown pie crust. Try one, or try them all.
1. Use a glass pie dish. Not only does glass conduct heat better than ceramic, it’s transparent. If you aren’t sure the bottom crust of your pie is browning well, simply pick up the dish and take a look.

2. Reinforce your crust. Both The Spruce and Sally’s Baking Addiction recommend making your crust a bit thicker than usual. You may need to double your crust recipe, or at least increase it by 50% to have enough dough. First, roll the bottom crust with extra dough. Then roll strips of dough to press along the sides and edges. This extra bulk will help your crust keep its shape, even if you use an all-butter crust.
3. Turn your crust upside down. If you’re still hesitant to attempt blind baking, King Arthur Flour has a nearly foolproof idea you can try. Simply place your chilled crust inside an aluminum pie pan, grease the outside of a second aluminum pie pan, and put it into the first pan, with your crust pressed between the two pans. After you’ve chilled the crust again, set both pans upside down on a baking sheet and bake. This method uses gravity to ensure the sides of your crust don’t slip and slide, along with the weight of two pans pressing on the bottom of your crust.
 Free shipping over $49


